
How to Create Custom Commemorative Coins: A 7-Stage Guide
Learn how custom commemorative coins move through seven manufacturing stages, from artwork and proofing to tooling, plating, enamel, inspection, packaging and quote preparation.
Choose the product type
Match the use case with pins, coins, medals, keychains, bookmarks or trophies.
Confirm artwork and finish
Prepare logo files and compare enamel, plating, 2D/3D relief and printing.
Plan packaging
Select backing cards, velvet boxes, polybags or retail gift sets for your channel.
Check schedule
Confirm sampling, production and shipping timeline before event deadlines.
Custom Metal Gift Categories
Compare the main Yanlsle factory paths before choosing materials, finish, packaging and quote details for a custom gift program.
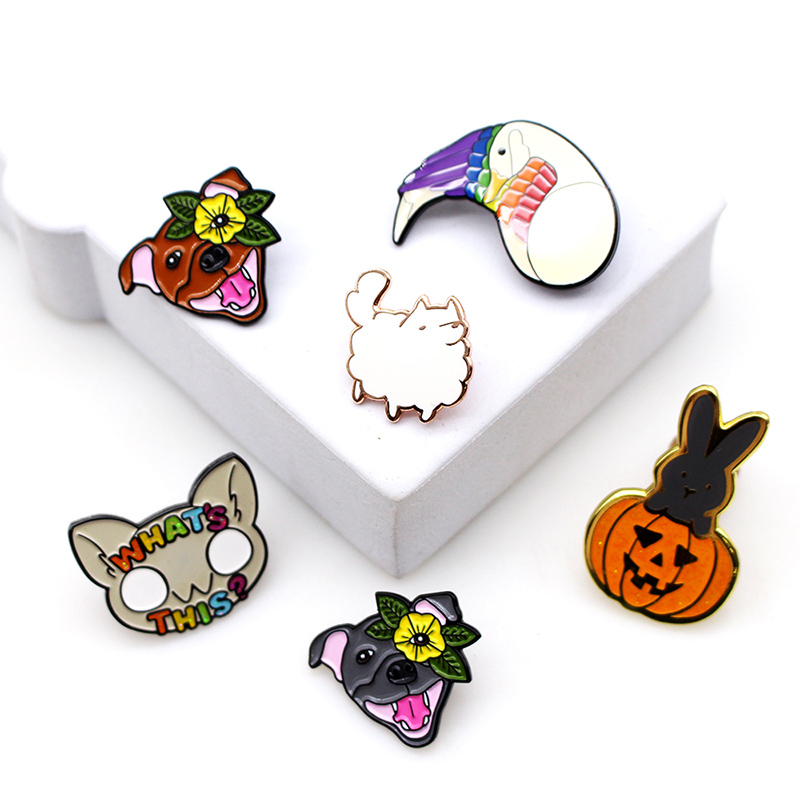
Badges
Custom metal badges for brands, clubs, schools, teams, uniforms, and retail merchandise.
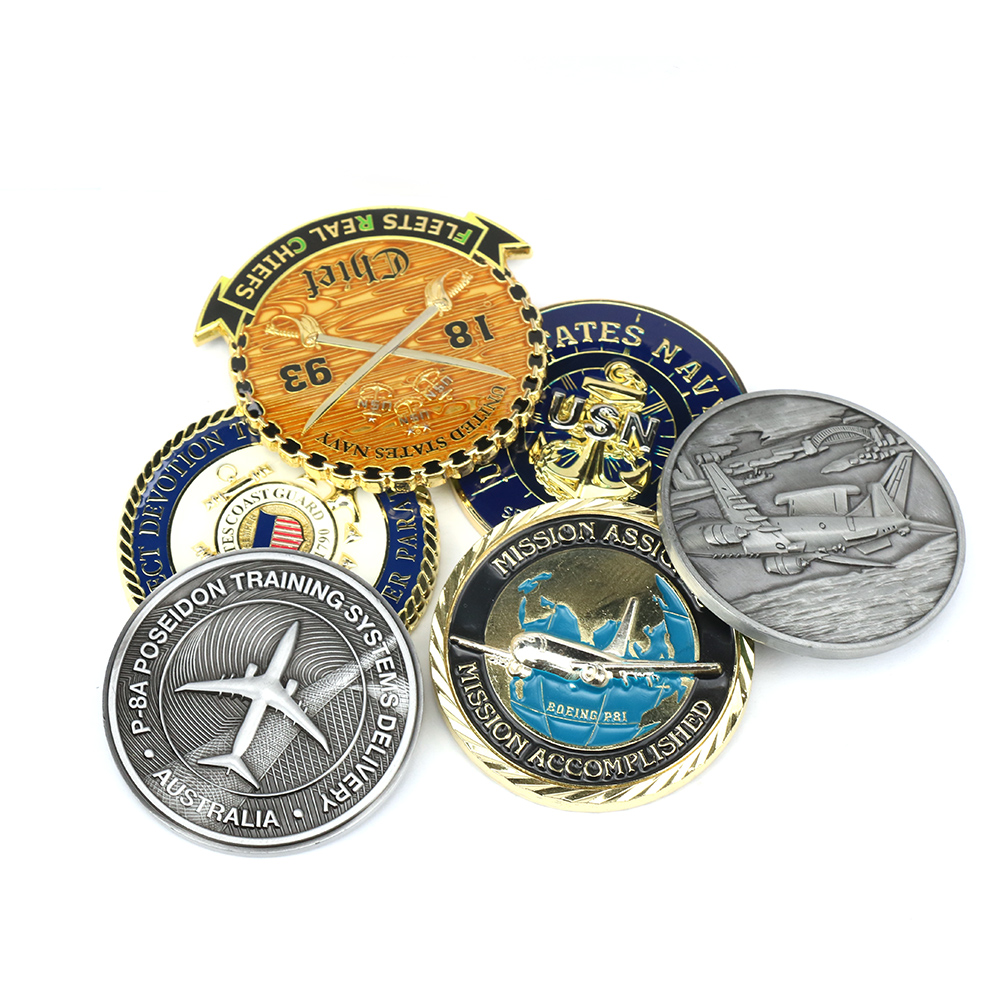
Commemorative Coins
Commemorative coins and challenge coins for corporate, military, anniversary, and event programs.
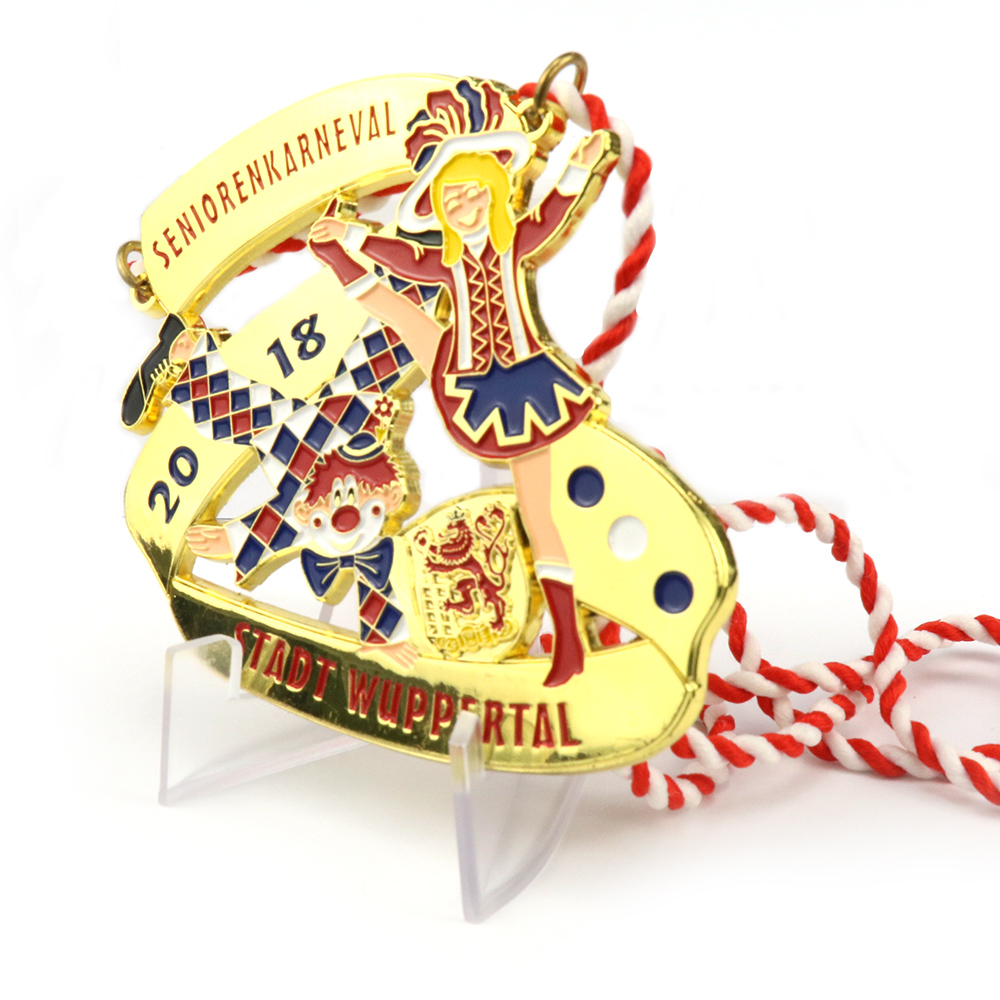
Medals
Custom medals for events, competitions, school awards, and recognition programs.
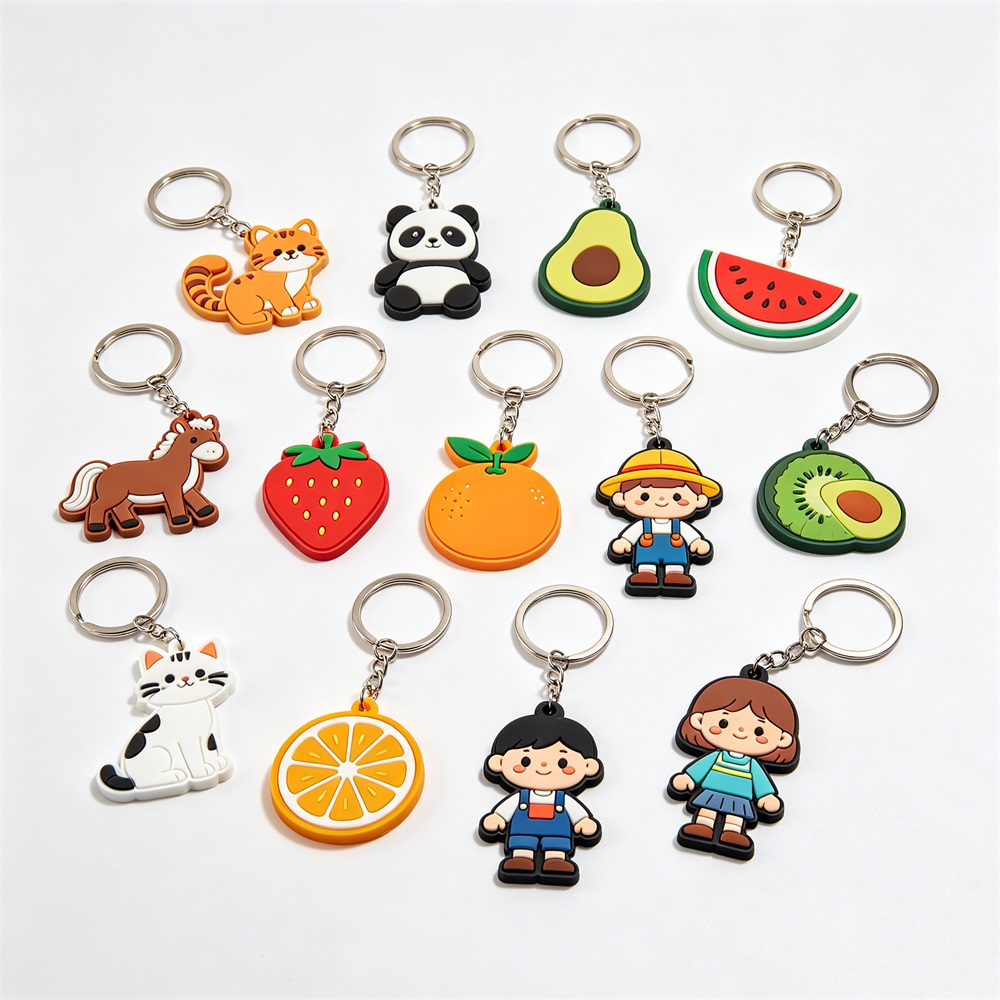
Keychains
Custom metal keychains for brand merchandise, retail souvenirs, events, and campaigns.

Trophies
Custom trophies and award components for ceremonies, corporate recognition, and competitions.
Fridge Magnets
Standard and specialty fridge magnets for tourism, retail, museum, and promotional gift programs.
Creating custom commemorative coins requires a controlled path from the project brief to finished packing. The same core workflow can support anniversaries, events, recognition programs, tourism, military units, schools and corporate milestones, but the material, relief, finish, packaging and approval schedule must be confirmed for each project. This guide explains seven manufacturing stages and the information buyers should review before quotation.
Related sourcing framework: use the Custom Metal Crafts B2B Sourcing Guide when a program combines coins with pins, medals, badges or other recognition products.
Stage 1: Define the Coin Brief and Artwork
Start with the purpose, audience and presentation context. A supplier needs more than a logo to recommend a suitable construction.
- Program type, recipient audience and distribution method
- Front and back artwork, wording, dates and required symbols
- Target dimensions, shape, thickness and weight direction
- Quantity plus any sponsor, award, department or serial-number variants
- Finish, color, edge and packaging preferences
- Destination and required arrival date
Supply vector artwork where possible and identify required brand colors. Separate fixed design elements from variable names, dates or recognition tiers so proofs can be reviewed clearly.
Stage 2: Review the Digital Proof
The digital proof translates the brief into a production layout. It should show both coin faces, relief levels, recessed and raised areas, enamel or print placement, plating direction, edge treatment, dimensions and packaging artwork where applicable.
- Check spelling, dates, logo proportions and text hierarchy.
- Review the smallest text and line weights at actual coin size.
- Confirm which areas are raised, recessed, polished, textured or color-filled.
- Verify that gradients, photographic detail and tiny sponsor marks use a feasible process.
- Record approval responsibility when several stakeholders or sponsors are involved.
Stage 3: Confirm Tooling and the Base Metal
After proof approval, the supplier confirms the tooling method and base material. Ask the quotation to state whether the design is cast, struck, etched, cut or assembled and which material is proposed for the reviewed artwork.
- Zinc alloy: useful for cast shapes, deeper relief, cut-outs and dimensional designs.
- Brass or copper-based options: suitable for selected struck designs, traditional finishes and weight directions.
- Iron or steel-based options: may suit flatter or etched designs when the reviewed finish supports the use case.
- Mixed construction: applies when the coin includes inserts, moving parts, attachments or presentation components.
Stage 4: Produce the Coin Form and Relief
The approved tooling creates the coin shape and surface relief. The production team should control dimensions, edge condition, relief definition and the areas that will later receive plating, enamel, printing or engraving.
- Confirm whether the design uses 2D or 3D relief.
- Check the relationship between portrait, text, logo and background textures.
- Review holes, cut-outs, rotating parts or attachments before surface finishing.
- Define any edge text, patterned edge or individually applied numbering.
Stage 5: Apply Plating and Surface Finishes
Plating and surface treatment establish the base appearance of the coin. Compare polished, satin, antique, dual-finish or color-plated directions against the artwork and intended presentation environment. Confirm which surfaces are protected during later color filling or printing.
Stage 6: Add Enamel, Printing or Engraving
- Soft enamel: creates recessed color areas with visible metal borders.
- Hard enamel: creates a smoother level surface where the design and construction support it.
- Printing: can reproduce gradients, small sponsor marks or photographic details.
- Laser engraving: can add selected line artwork, text, names or serial information.
- No color fill: uses relief, texture and plating contrast as the primary visual language.
Stage 7: Inspect, Pack and Prepare Delivery
Inspection should compare finished coins with the approved specification. Review surface condition, relief definition, color placement, dimensions, attachments, variable data and packaging before shipment.
- Visual finish, scratches, plating consistency and color placement
- Dimensions, weight direction and edge condition
- Spelling, dates, serial numbers and variant separation
- Capsules, pouches, cards, boxes, inserts and carton labeling
- Destination documents and the approved delivery term
What Affects a Commemorative Coin Quote?
There is no universal coin price, tooling cost, MOQ or production schedule. A comparable quotation should state the assumptions behind each cost and milestone.
- Diameter, thickness, shape and target weight
- Base metal, tooling method and relief complexity
- Plating, antique treatment, textures and edge details
- Enamel colors, printing, engraving and variable data
- Quantity and the number of design or packaging variants
- Proof or physical sample scope
- Capsules, pouches, cards, boxes and inserts
- Destination, delivery term and required arrival date
Plan Proofing, Sampling and Production Timing
Build the schedule backward from the required arrival date. Separate artwork review, digital proof approval, tooling, optional physical sample review, bulk production, inspection, packing and transit. Confirm which stages begin only after payment or approval and reserve time for corrections to artwork, variable data or packaging.
Commemorative Coin RFQ Checklist
- Purpose, recipients and presentation context
- Front and back artwork or reference images
- Target size, shape, relief and finish direction
- Quantity and design, name or serial-number variants
- Color, plating, edge and packaging preferences
- Destination and required arrival date
- Digital proof or physical sample requirement
- Testing, inspection or documentation requirements
Request a Project-Specific Commemorative Coin Quote
Review current coin formats and submit the purpose, artwork, quantity, finish, packaging and deadline through the Custom Commemorative Coins product inquiry form. Yanlsle can then confirm the relevant construction options, proofing or sample scope, quotation and production schedule for the project.
Create Commemorative Coins FAQ
How do I create commemorative coins?
Start with the purpose, artwork, size, quantity, material, finish, packaging and required arrival date. The supplier can then prepare a proof and confirm tooling, optional sampling and production after approval.
What affects a custom commemorative coin quote?
Important inputs include dimensions, material, relief, plating, enamel or printing, edge details, quantity, variants, packaging, proofing, destination and delivery requirements.
What happens after artwork is approved?
The project normally moves through tooling, coin-form production, surface finishing, color or engraving, inspection, packaging and delivery according to the approved specification.
Related Coin and Recognition Guides
- Custom Event Commemorative Coins Guide for conferences, launches and sponsor programs
- Custom Challenge Coins Guide for relief, edge and presentation choices
- Custom Anniversary Coins Guide for recurring milestone programs
- Yanlsle Product Catalog for related medals, badges and recognition products
Custom Product Development Services
One-stop custom product support from artwork and sampling to production, quality control and export packing.
 01
01OEM / ODM Design
Logo interpretation, 2D/3D artwork and sampling before mass production.
02Custom Product Manufacturing
Material-specific forming, decoration, assembly, quality inspection and final packing.
03Packaging & Export
Backing cards, velvet boxes, retail sets and worldwide logistics support.
04B2B Project Support
MOQ, quotation, production schedule and inspection support for distributors.
Company News

Custom Metal Medals in Bulk: A Buyer Guide
Plan custom metal medals in bulk for sports, schools, clubs and awards by comparing materials, shapes, ribbons, finishes, packaging, proofing and event deadlines.
How to Create Custom Commemorative Coins: A 7-Stage Guide
Learn how custom commemorative coins move through seven manufacturing stages, from artwork and proofing to tooling, plating, enamel, inspection, packaging and quote preparation.
Custom Zinc Alloy Souvenir Coins: A Bulk Buyer Guide
Plan custom zinc alloy souvenir coins for tourism, museums and retail by comparing relief, enamel, plating, packaging, quantity, proofing and delivery requirements.